Where I find Inspiration…..

symbolearringssqfrm

I have been spending time reflecting. I took a break from working at my bench for some much needed rest, relaxation and recharging of my artistic batteries. The break lasted longer than I expected, yet I believe that is exactly what I needed to become a better artist. My husband and I vacationed out on the Oregon coast. We enjoyed some fall hikes, walking along the shores of the Pacific Ocean and soaking in the beauty of nature. New inspirations were just a few of the benefits.

After that kind of hiatus from the bench, it felt both good and a little strange. Working with my hands is extremely satisfying and initially I did feel a bit rusty. I think it’s safe to say I am back and fully operational now.

circleearrings

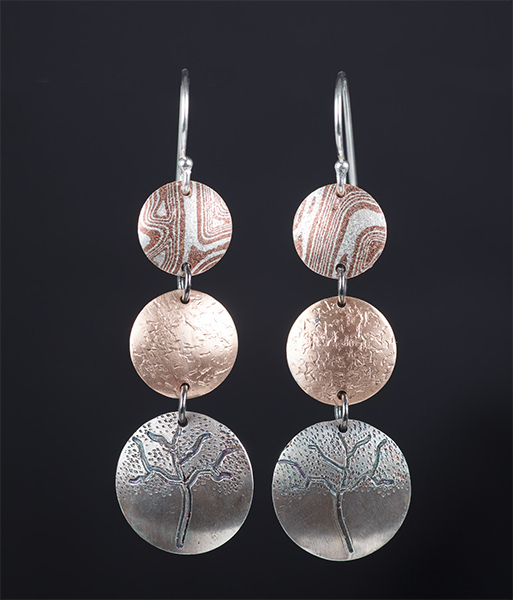
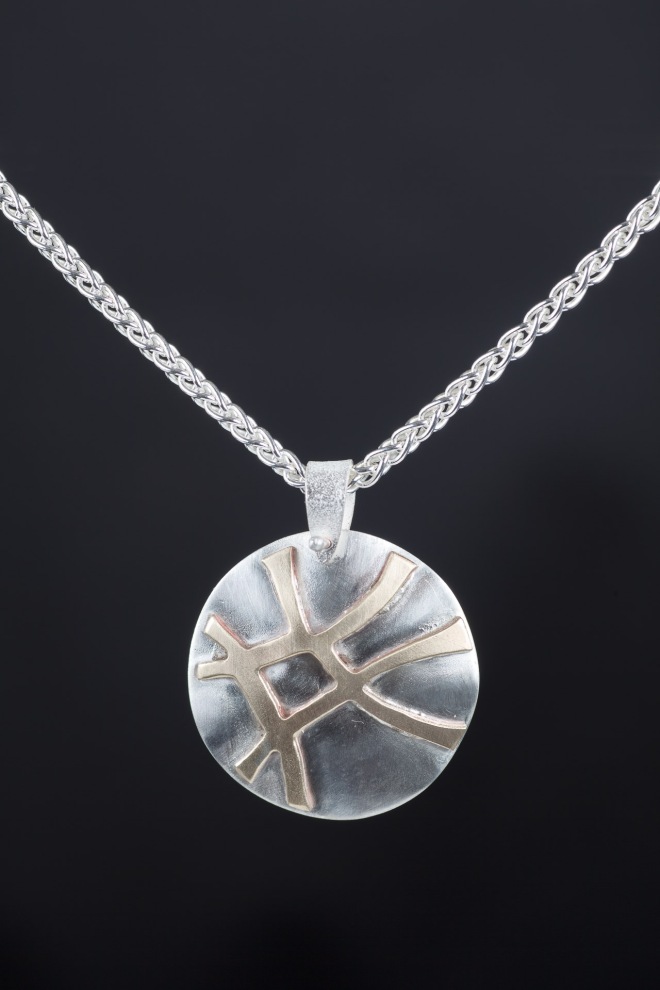
Sometimes I find inspiration from movies. Here is an example. Any thoughts on which movie inspired this piece?

img_1785

Quoting the infamous episodes from Friends with my own spin, “I was on a break…. a much needed break”. Given this experience, I broke some of my own rules of spending at least 5 minutes a day in the studio. That does give me some pause and contradiction, yet I know me and this break was something I truly needed to recharge my creative batteries.

All that being said, I would encourage my fellow artists to do the same. Don’t fight the need for breaks from the work cycle or even worse, feel guilty about it. There are times when the best thing we can do for our creative process is rest and relax.

Until next time, I continue to aspire to be more as an artist and a person.


Rainbows in Bronze

RainbowsInBronze

My first finished piece using bronze, copper, and silver.  The cabochon is one of my fused crinklized dichroic pieces.  You may notice that the design is not the same as the original piece I was working on….well, that’s because the first one didn’t turn out.  That’s ok, I learn from my mistakes (most of the time ;)) and I think the completed design actually turned out better as a result.  Maybe it was meant to be this way?

Dan took a short video of me soldering the bezel to this piece.  The next time I try this, I will try to do a little more step by step and explanation of the process.  I edited the original clip and condensed it so it would drag on.  Leading up to this point, I decided to add three copper overlays to add some interest to the design. I think it’s just part of my personality as a designer….I have an idea of what I would like, sketch it, and then as it progresses…I see other things that need to be incorporated in the piece.  That seemed to be the case for this piece with the addition of the copper overlays.

In the video, you can see these little pieces of copper sitting on top of the back plate and they are being soldered into place at the same time the bezel is.  Solder flows toward the heat as it melts so at the end of this video, I was trying to direct the solder flow to the outside edge of the bezel to form a complete join between the bezel and the back plate.  I saved the video as a QuickTime movie and for some reason, WordPress will not permit uploading of that file format, so  here’s the short clip of my soldering
linked off my web page.

This is how the base looked after the soldering.  Kind of a mess actually, but I’ve learned that things don’t look pretty until the finishing stage.  I guess that is pretty much normal for most of the work I do, whether it’s glass or metal.  It’s almost like unwrapping a present as I work on the final completion stages.

PostSolderBronzePiece

I cleaned it up, polished it, etc for the final look you see at the top of this post.  I haven’t decided if I want to add a patina too it.  I like seeing the different metal colors and textures.  I used a very subtle texture on the bronze.  I was trying to find something to compliment the texture of the crinklized glass.  And the copper is plain, but I rounded the edges of each overlay to help soften and blend them with the rest of the piece.  The bezel is fine silver.

It’s been a great weekend.  Here’s wishing all of you a wonderful week of creativity.  Strive to be more as an artist and a person.  Until next time…Namaste and Blessings to you.

First Firing of The Torch

First Firing Of The Torch

Tonight was a momentous occasion for me.  I fired up my torch for the FIRST time!  Nervous?  Yes.  Exciting?  Yes.  Results? Thrilling for me!

I have read, heard, and been counseled a lot about firing up my acetylene torch.  You must respect the equipment and take the necessary precautions.  Lexi was kind enough to set up my torch system last month and as I built up my confidence to have a project that I would solder here in my studio, it was time to fire it up.

Soldering stained glass is nothing like soldering metal.  And I absolutely love to solder a stained glass window.  I have soldered jewelry with Lexi’s guidance and I was eager to do it on my own.  Lexi is known in her circles as The Torch because she is an expert solderer.  I am her apprentice in a sense and not only did I want to do justice to her mentoring, I wanted to prove that I could solder something on my own…that is without Lexi watching me do it!

Tonight, I was ready.  I am working on a piece for one of my glass cabochons that is in that lovely Crinklized dichroic glass from Coatings by Sandberg.  I love that glass.  I’ve worked on a design and now I was ready to solder the bezel for this piece.  The bezel is the component that fits around the cabochon and holds it in place on the main back piece.  You have to cut bezel ‘wire’ to just fit the cabochon.  Not too tight and with just the right about of leeway to allow for the setting of the cabochon.

My husband, Dan, was kind enough to preserve the moment in digital so at the top of this post you see me quite focused on the solder process.  The end result, the bezel is soldered together and fits the cabochon nicely.

Bezel And Cab

I knew I wouldn’t be able to finish this piece tonight, so I will end with a tickler showing you the components that will be put together to form this pendant.  In this photo, I have the bezel placed around the cabochon to confirm the proper fit.  The base plate and bail are ready; both are bronze…this is my first time working with bronze.  I find it quite lovely and rich.  It’s one of Lexi’s favorite materials and I couldn’t wait to start working with it.

The Components

My obligations are such that I may not get back to finishing this until Sunday.  So I will leave you with these views of what is to come in my next post.